Setup and usage of Bitbucket and ADO Repos
This guide provides instructions on how to set up and use repositories in Bitbucket and Azure DevOps (ADO).
Part 1: Bitbucket
Setting Up a Bitbucket Repository
-
project
- Go to Bitbucket to see the project NAVPRO in the AOK bitbucket. All the backend services, Kong, Kafka, init containers, and other utility programs are configured under this project in bitbuckt
-
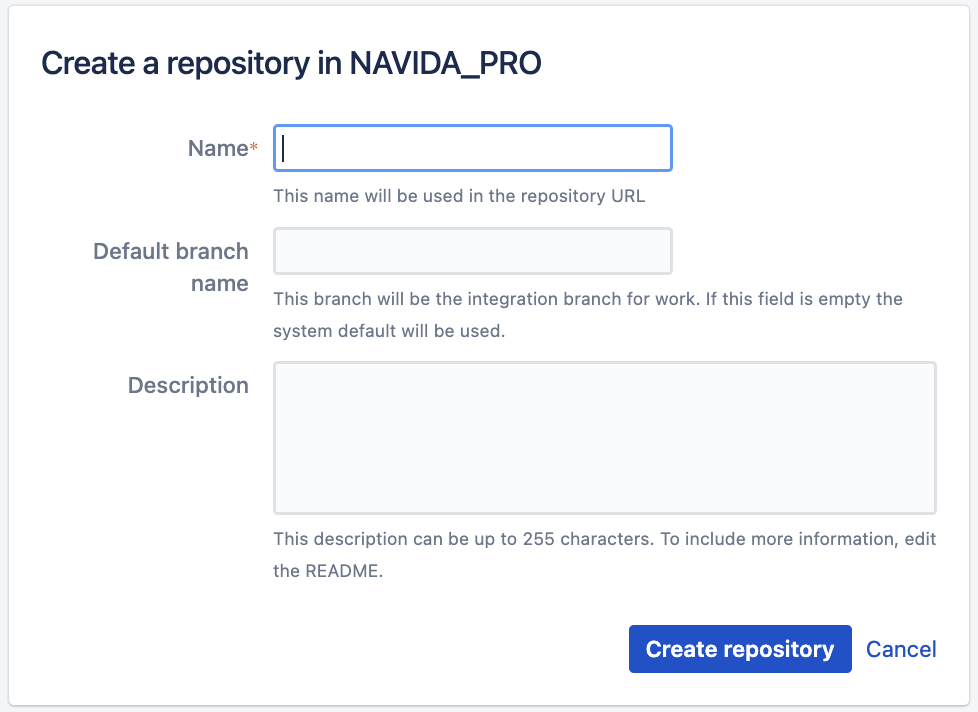
Create a New Repository
- Click on the "+" icon in the left sidebar and select "Repository."
- Enter a repository name, default branch name is release/dev, enter a proper description
- Click on "Create repository."
- Clone the Repository
-
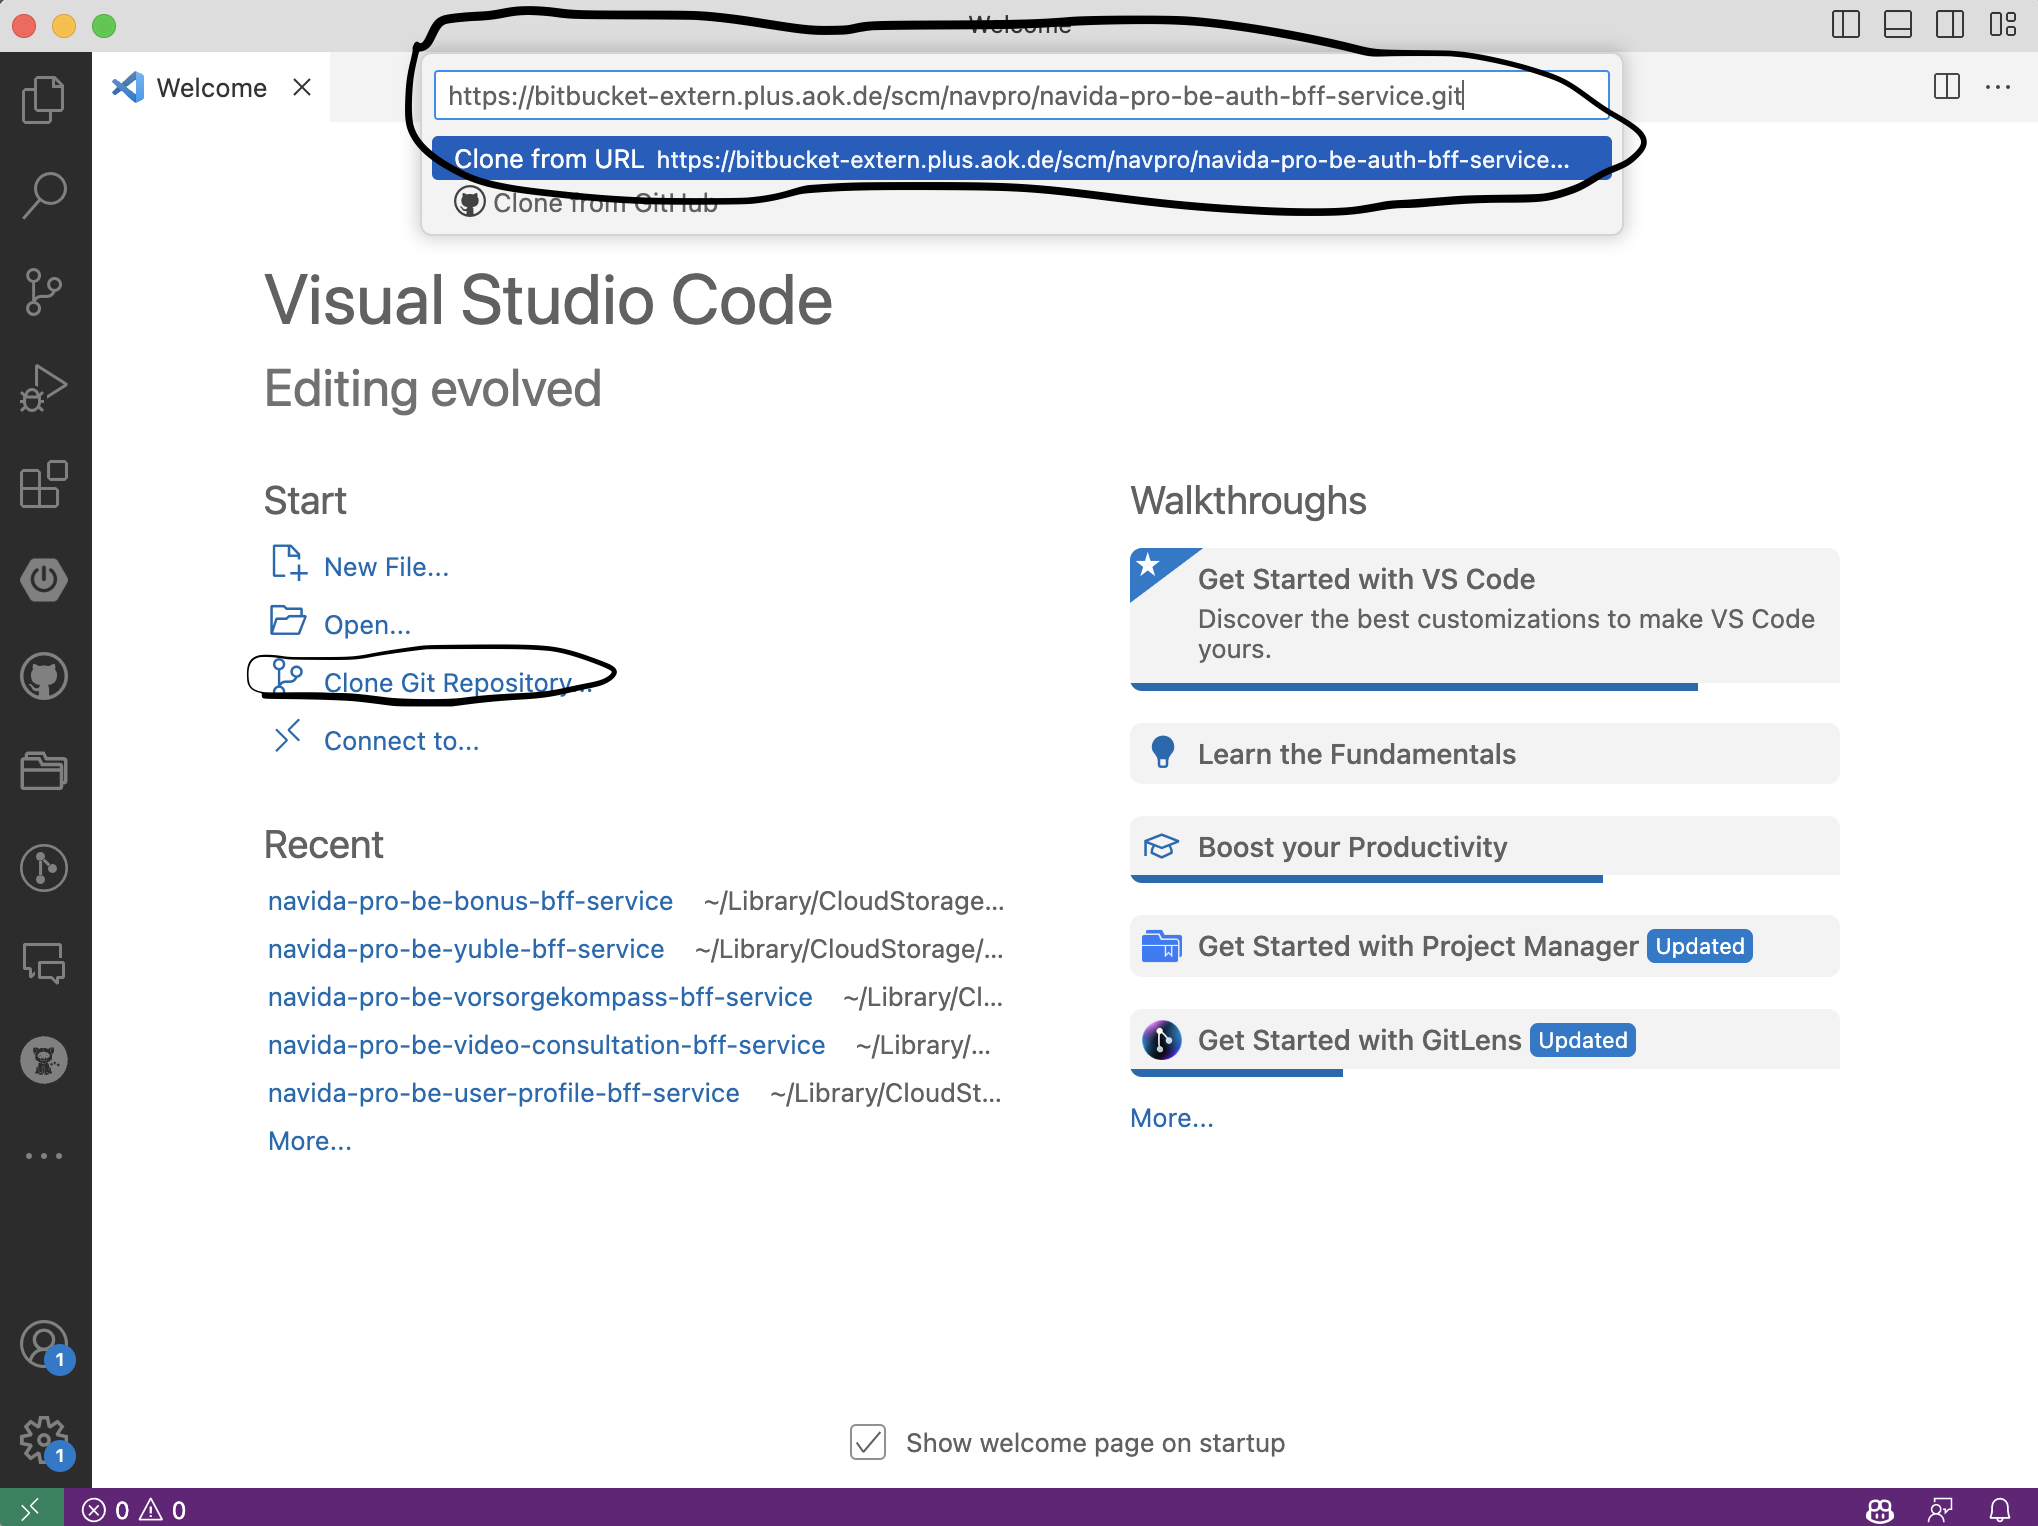
Copy the repository URL provided by Bitbucket.
-
Open a terminal or command prompt and run the following command:
git clone <repository-url> -
Replace
<repository-url>with the URL you copied from Bitbucket. -
Example :
git clone https://bitbucket-extern.plus.aok.de/scm/navpro/navida-pro-be-auth-bff-service.git -
for Visual studio Code IDE , you can clone it from the IDE directly.
-
Working with the Repository
-
Add Files
- Add files to your local repository using the
git addcommand. - Commit changes with
git commit -m "commit message". - Push changes to Bitbucket with
git push.
- Add files to your local repository using the
-
Pull Changes
- To update your local repository with changes from Bitbucket, use
git pull.
- To update your local repository with changes from Bitbucket, use
Create PR for the changes
Part 2: Azure DevOps (ADO) Repos
Setting Up an ADO Repository
-
Create an Account
- Go to Azure DevOps and sign up for an account if you don't already have one.
-
Create a New Project
- Click on "New project" and fill in the project details.
- Click on "Create."
-
Create a Repository
- Within the new project, navigate to the "Repos" section from the left sidebar.
- Click on "Repositories" and then "New repository."
- Enter a repository name and click on "Create."
-
Clone the Repository
- Copy the repository URL provided by ADO.
- Open a terminal or command prompt and run the following command:
git clone <repository-url> - Replace
<repository-url>with the URL you copied from ADO.
Working with the Repository
-
Add Files
- Add files to your local repository using the
git addcommand. - Commit changes with
git commit -m "commit message". - Push changes to ADO with
git push.
- Add files to your local repository using the
-
Pull Changes
- To update your local repository with changes from ADO, use
git pull.
- To update your local repository with changes from ADO, use
Conclusion
Both Bitbucket and Azure DevOps provide robust platforms for hosting Git repositories. By following the steps outlined above, you can set up and start using repositories on both services.
Remember to always keep your local repository in sync with the remote repository by regularly pulling changes and resolving any merge conflicts that may arise.